FLASH UPDATE


############


PLEASE NOTE:- Shopsmith Ohio has a new CEO & owner 01/01/2026


My website is still here for customers to see products and place orders.


Re-supply from Ohio may resume in the near future


Until then Parts will drop from sale as stock reaches zero


YES I can ship to the USA email me for details


With the increased demand in enquiries please be patient and expect delays in my replies.


############


    Mark 7 and MARK V 505-510-520 BlankTable Insert Maximize

    Mark 7 and MARK V 505-510-520 BlankTable Insert

    555518 Mark 7 and MARK V 505-510-520 BlankTable Insert        


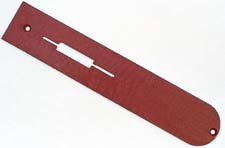
    Blank Polymer Zero Clearance Table Insert --- for use when making through-cuts with your Mark 7 or Model 505, 510 or 520 Pro Fence MARK V – and you’re planning to use your Upper Saw Guard for optimal safety

    IF THE ITEM IS PRICED THERE IS USUALLY STOCK AVAILABLE

    All specialist parts orders have an admin fee in addition to the parts price 

    You are encouraged to phone for assistance in order to get the right part.

    Please use the link under CONTACT US

    More details

    555518

    £ 33,50

    Mark 7 and MARK V 505-510-520 BlankTable Insert        

    Blank Polymer Zero Clearance Table Insert --- for use when making through-cuts with your Model 505, 510 or 520/Pro Fence MARK V – and you’re planning to use your Upper Saw Guard for optimal safety

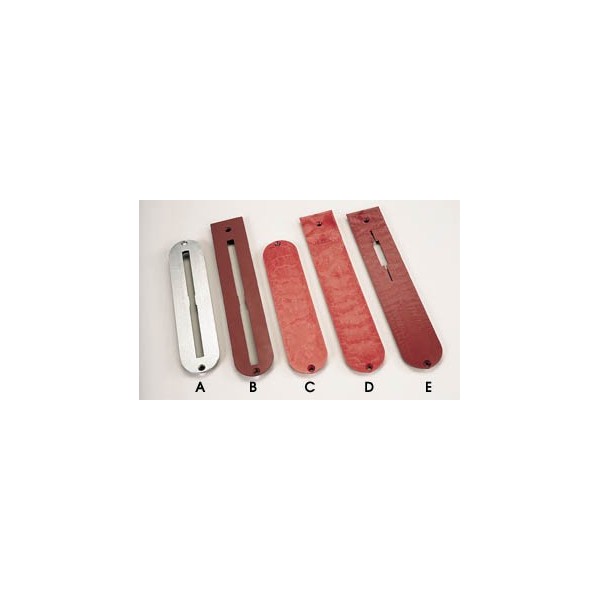
    This special Polymer Table Saw Insert is the model to choose when you need a Zero Clearance setup to: • Provide maximum workpiece support when cutting small or thin pieces of stock • Eliminate dangerous scrap fall-through • Make cuts with the Upper Saw Guard in position to ensure optimal safety and dust collection efficiency

    It features a pre-formed square cutout in the center for inserting the Upper Saw Guard during operation. Made of a special polymer, you should make one for each Sawblade you’re planning to use.  This is accomplished by:   1: Installing the selected saw blade   2: Raising the MARK V Worktable well above the top of the blade   3: Installing the Insert and tightening the mounting screws   4: Turning on the MARK V   5: Lowering the Worktable SLOWLY into the blade to the appropriate sawing depth   6: Turning off the MARK V