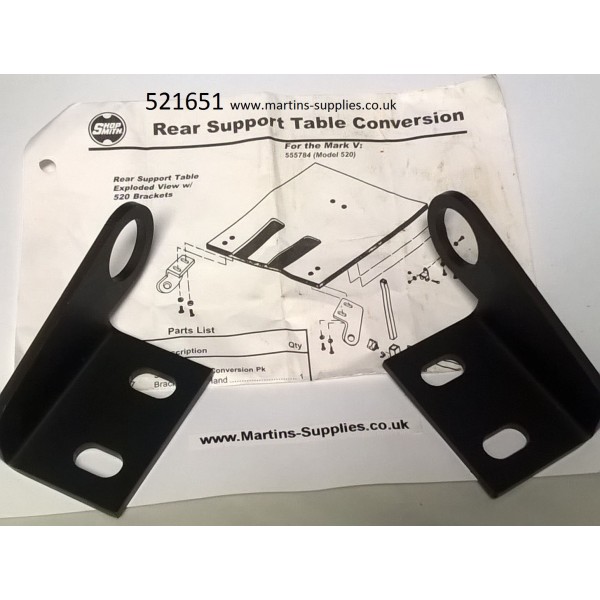
Martins Supplies lightweight Support Table Conversion Kit
To fit Mark V 520 onwards only


If you have a Mark V 520 and want to make your own DIY version of this table purchase these brackets and with DIY ITEMS you will be ready to go
REQUIRED:-
24" x 18" x 3/8" plywood panel
24" x 8" x 3/8" panel
2 off 6” x 2” steel plate
555559 Drill and tap set
Connecting bolts & nuts x 4 for your platform
2 x ¼” x 20 bolts for the Shopsmith table
Hacksaw and steel file
Matt Black spray paint to finish
some glue and a router to cut slots for the mitre gauge bar.
Here are some instructions to make this item
The aim was to use 521651 Support table parts and make my own short modified table which does not rely on any form of floor rested support bar.
The table which is attached to the main table and the design of the brackets allow the table to hinge down when not required and lock to the table when required.
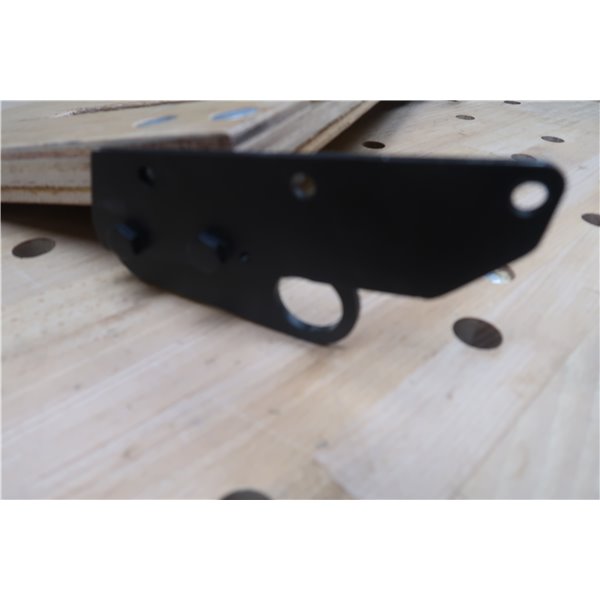
To make this you will need to attach steel bars (Power Pro jig bars) to the 521651 brackets. The flat steel needs to be drilled and tapped for ¼" x 20 threads and then attached them to the brackets. Then once positioned mark out the place to drill and tap hole to be able to use a bolt to connect to tapped hole in the rear of the main worktable. As the table is a fixed item and the brackets are now locked to it the support table follows the movements of the main table.
You just now need to cut any excess steel away from the bars, round the corners and then paint.
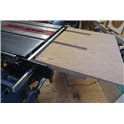
Item all finished and working.
Rear table projection is about 30cm behind the back of the sawblade which I think gives adequate support for most day to day items cut.
This does away with all the floor support arrangements on old designs.
No more of this

Includes: pivot brackets


 Maximize